Prepare LAS and LAZ Survey Point Data
Clean and organise LAS and LAZ survey point data from LiDAR, laser scanning and photogrammetry in one Windows project.
Import, clean and identify ground points
Open LAS, LAZ, XYZ, CSV, TXT and DXF survey files, remove noise, separate ground from non-ground points and preserve important terrain features.
Select and edit the areas that matter
Use polygon, lasso and fence selections, reduce the number of points, smooth noise and inspect the data before export.
Continue directly into terrain analysis
Use the cleaned point data to generate ground models, contour maps, volumes and elevation profiles without rebuilding the project elsewhere.
From drone photogrammetry to a reviewed point cloud
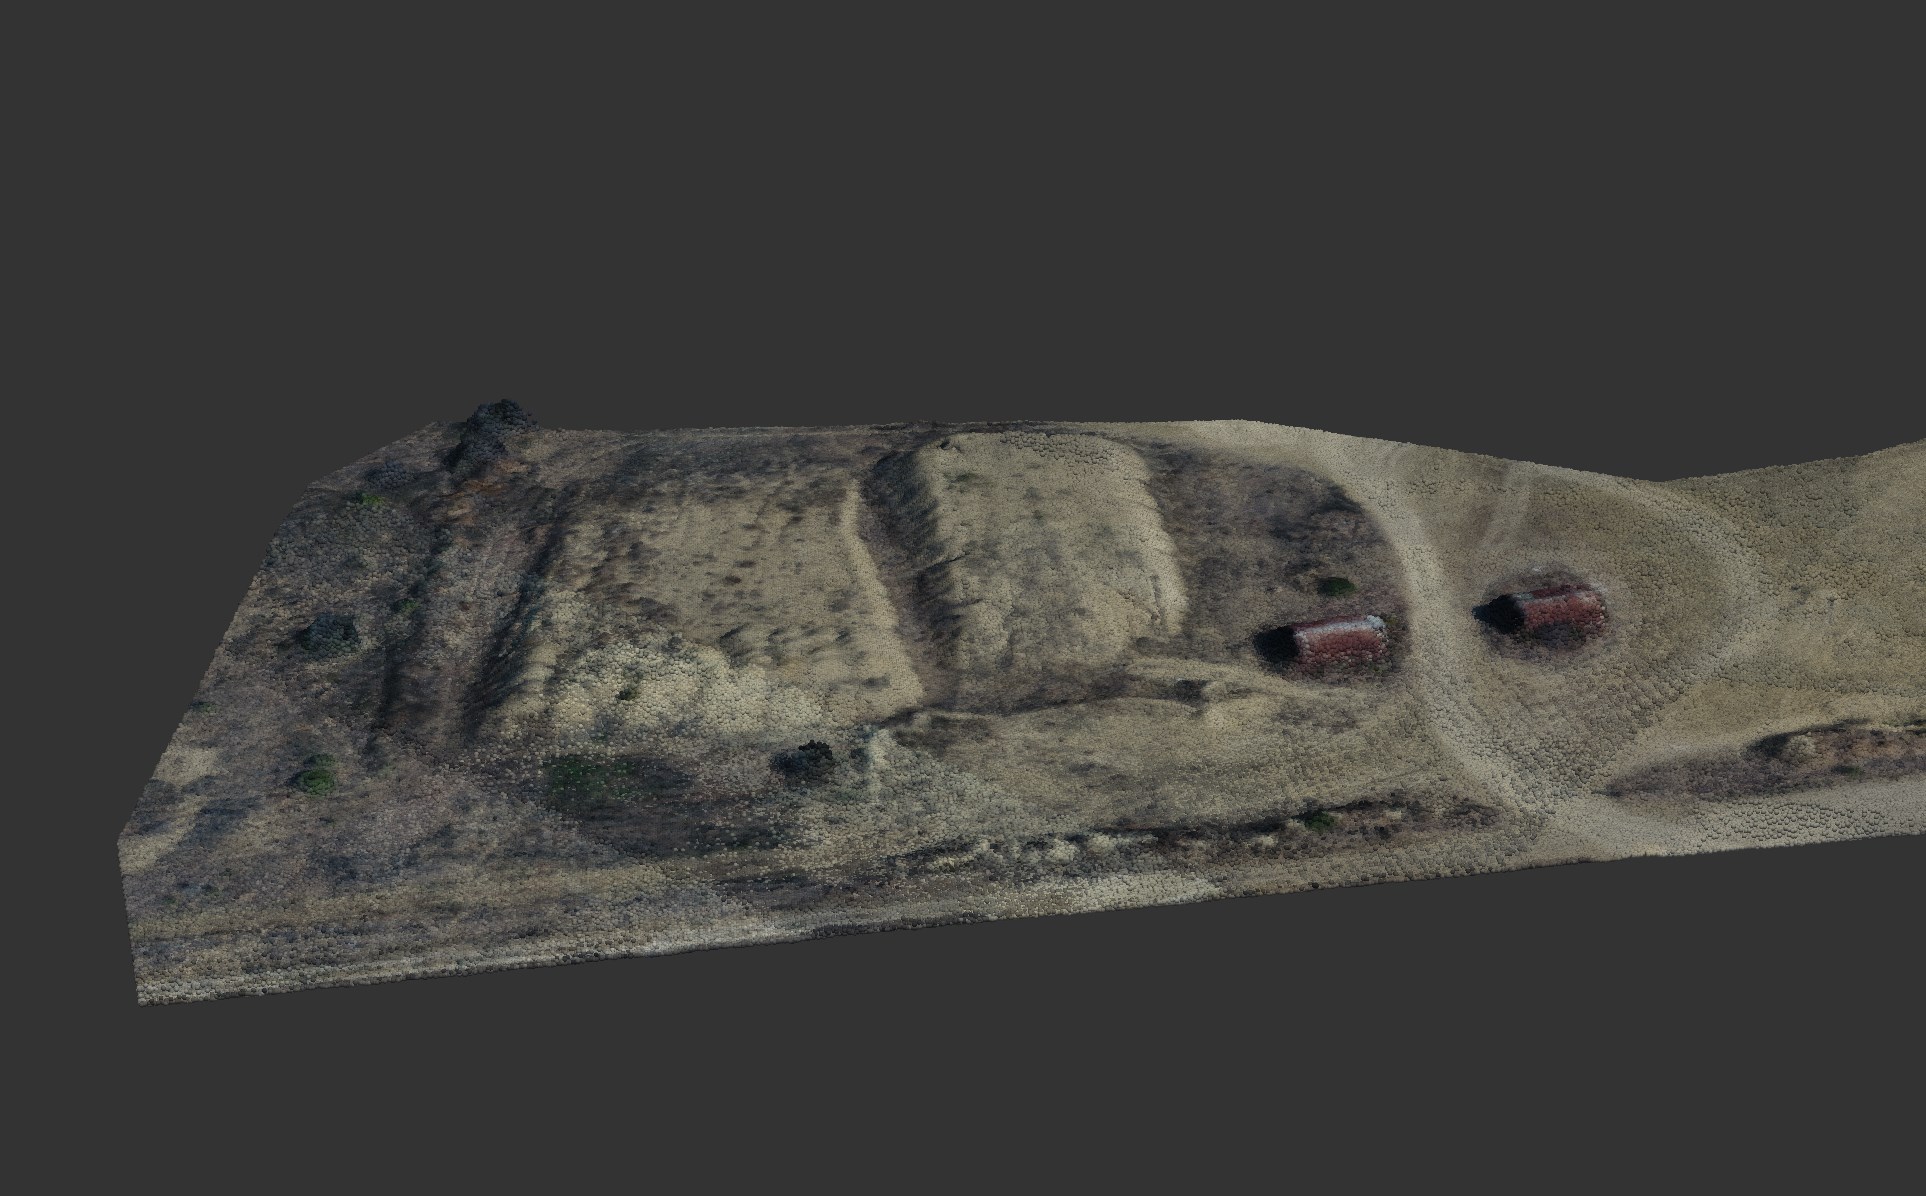
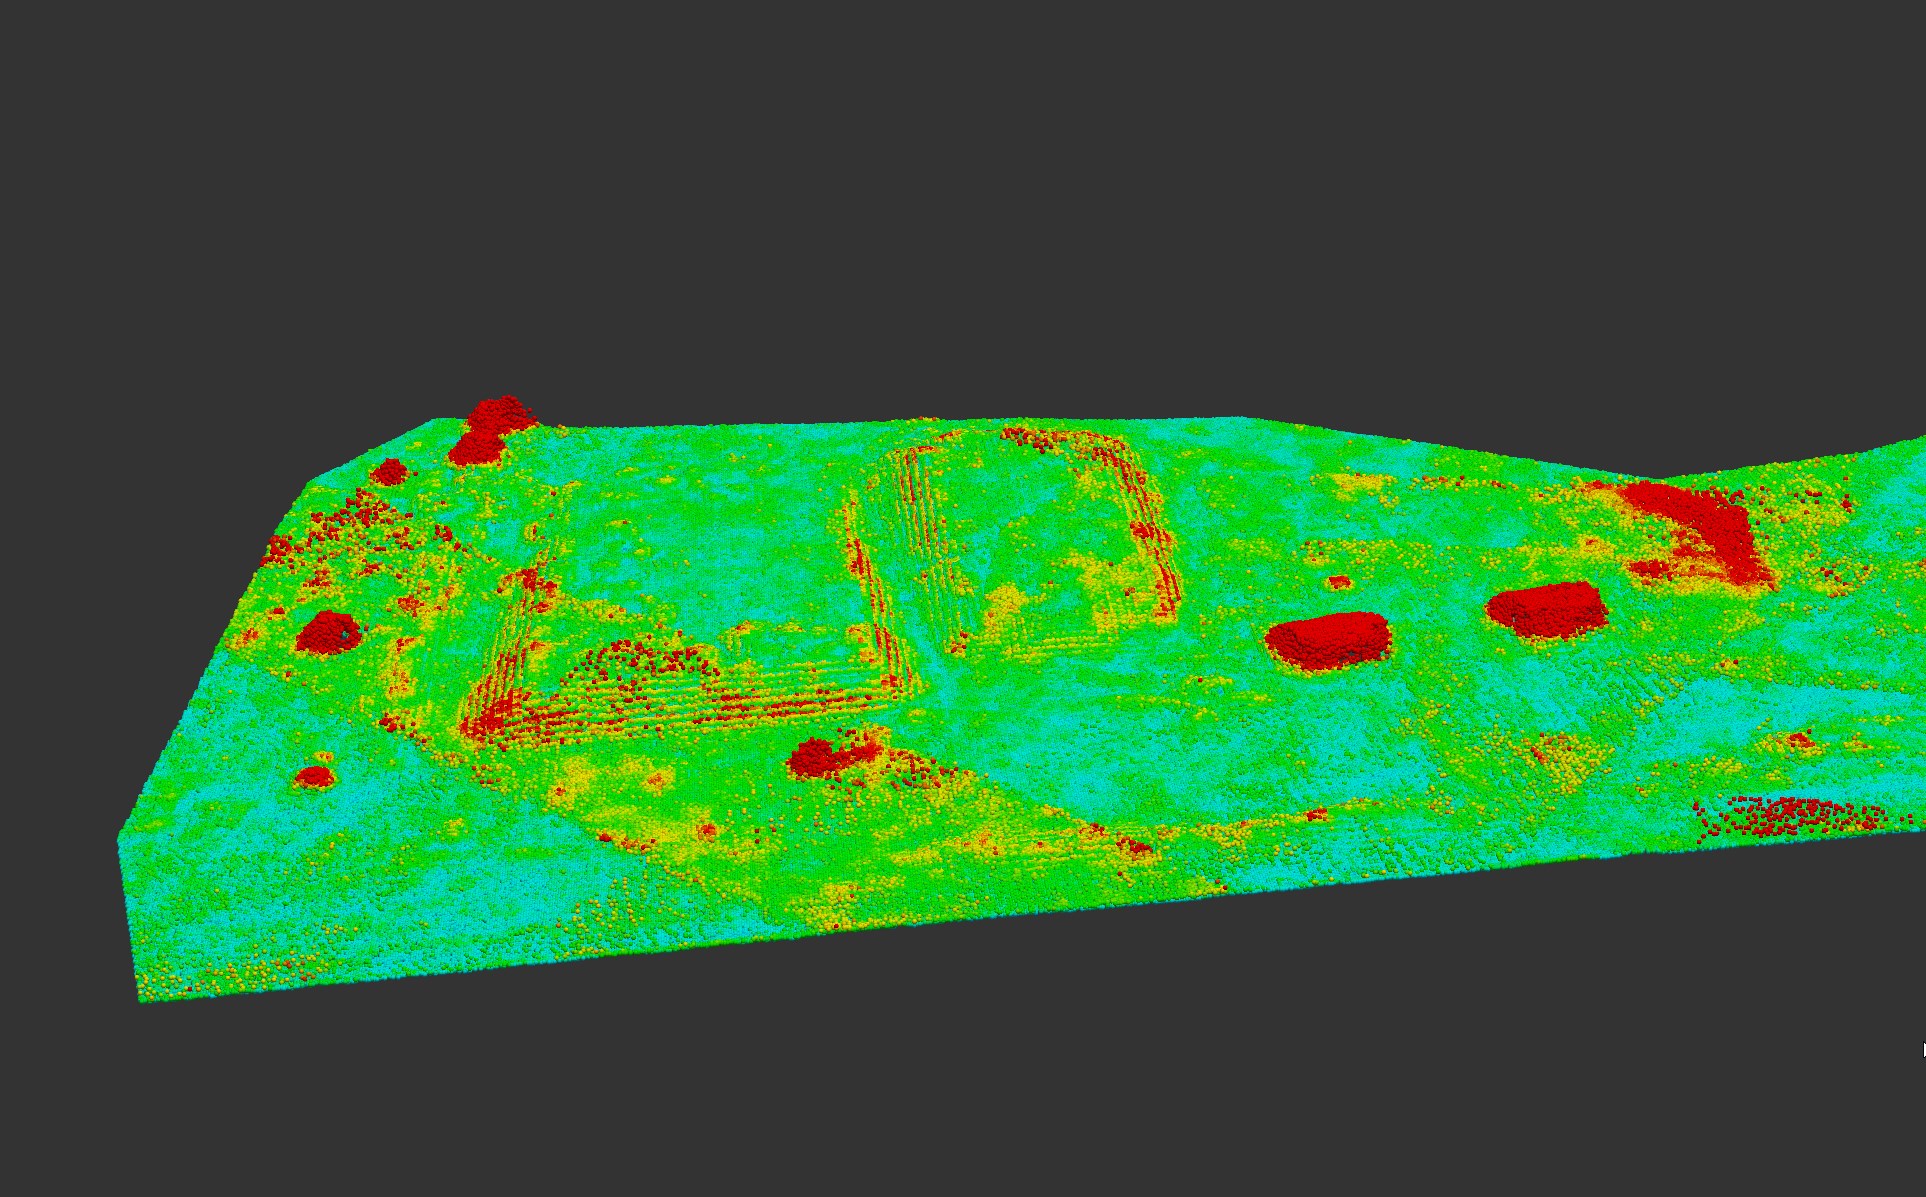
This example starts with a point cloud reconstructed from drone photographs in photogrammetry software, then imported into CloudCanvas. Vertical Filter was used to highlight points for review before noise and vegetation were removed.
Review the original data
Inspect the RGB cloud and the terrain from several angles. Look for vegetation, isolated points, steep slopes and areas with limited coverage before choosing filter settings.
Compare the retained and removed points
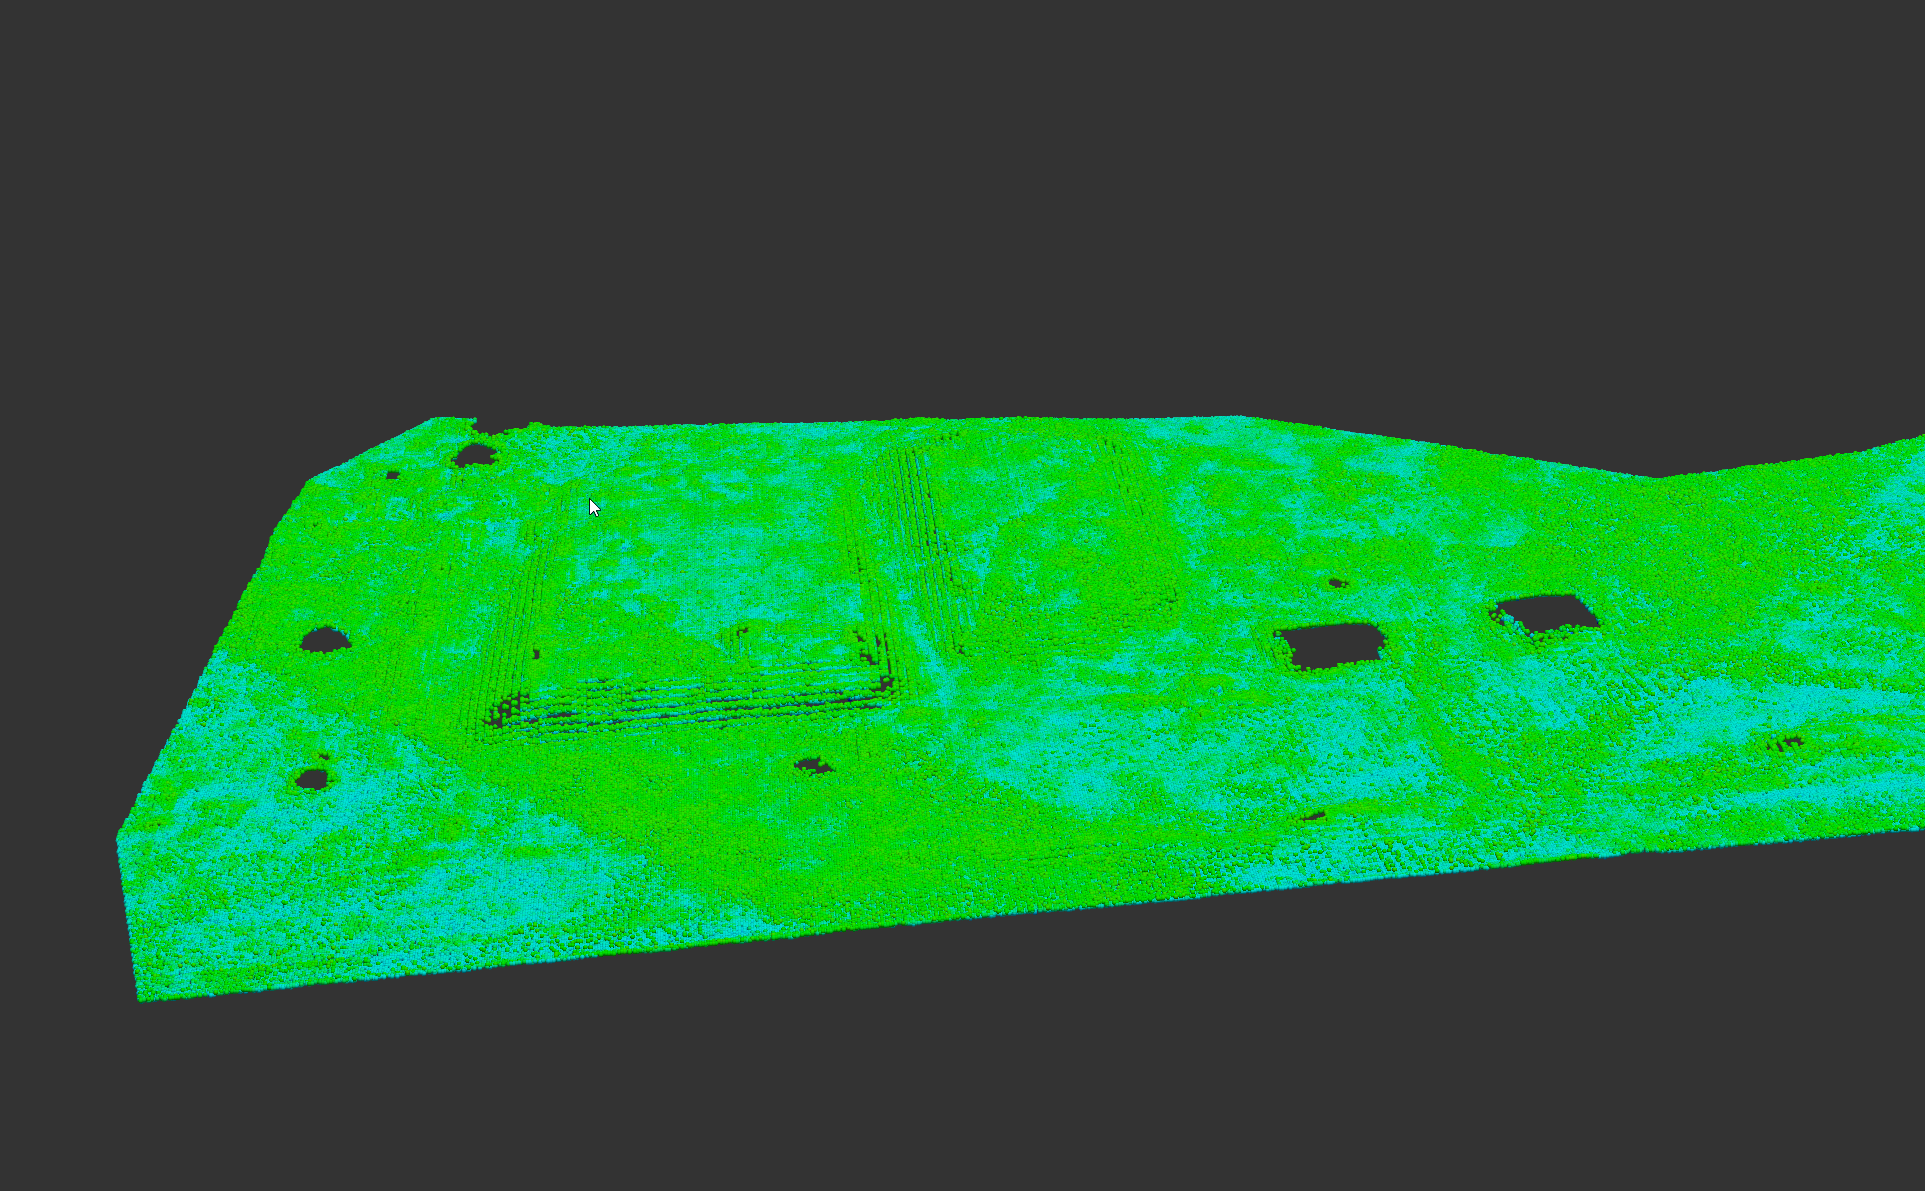
Check the filter result against the original cloud. Review slopes and edges closely: points that look like outliers may still describe important ground features. Refine the selection where needed.
Check gaps before building a surface
Removing points does not create ground observations where none were captured. Review gaps and coverage before generating a terrain surface, contours or volume results.
Does a cleaner cloud mean a more accurate ground model?
Not by itself. A clean appearance can hide missing or incorrectly removed ground points. Check retained and removed points against the original observations and use independent survey checks where accuracy matters.
Which filter settings should I use?
Settings depend on the selected tool, point spacing, units, terrain and intended output. Start with a representative area, compare the result with the original data and adjust one setting at a time. These images illustrate the review process, not a universal settings recipe.